Many people shake with fear at the very mention of Curves. You don’t need to fear anymore, because this helpful video will take the pain out of it. Watch as I explain in plain English how to use curves and bend them to your advantage. (pun intended).
Use Adjustment Layers whenever possible, because they are non-destructive. (Can be changed later).
Click the little finger icon to drag and adjust directly on the screen.
(With the Curves Modal Dialog only Ctrl+M/Cmd+M – Non Adjustment layers)
Hold down the Ctrl/Cmd key and click on a portion of an image to add a targeted point to the curve.
Hold Down Ctrl+Shift/Cmd+Shift to add points to the color channels of a curve.
Get in-the-know!
Join our list to receive more tutorials and tips on Photoshop. Get exclusive tutorials, discounts and the free super guides. No spam, all content, no more than once a week.
If you’re on our list, you will receive it free by email as soon as it’s available. If not, sign up now and get the CS6 Superguide for free. Or click the image below.

This site uses Akismet to reduce spam. Learn how your comment data is processed.

How to make a duotone image in Photoshop. Graphic Designers can use this guide to make prints, photographers can...

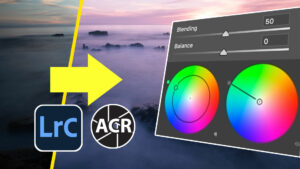
Have you ever made adjustments to a photo in Camera Raw and then wanted to blend the edited version with...


I have been asked a few times, how to make a 3d cube in Photoshop. here is the manual method....


nice tutorial very helpfull to me
Great tutorial and nice content. Thanks for shairng.