In the latest release of Premiere Pro (2018) one of the best new features is the ability to use Motion Graphics templates from After effects. While we have been able to do this for a while now with editable text (I use this a ton for lower thirds etc) now we can edit color, graphical elements and a lot more. You don’t need to be a motion graphics designer. You can have someone create a template for you in After effects and you can change it easily in Premiere Pro without ever knowing, or opening After Effects. Now, here is where it get’s even better. Adobe has added professionally designed templates, that you can access through your CC library. There are even free ones that you can use right now. Check out this tutorial, where I show you how to find and edit these templates in a real project.
Hey Cafe Crew, it’s Colin Smith here from Photoshop Cafe and today, I have got something super exciting for you.
If you work with videos, if you have ever wished that you had the skills or you had the budget to add those really cool motion graphics, that you see for titles, [Inaudible 00:14] different things like that. Well guess I have got some good news for you. You can add those to your videos today, for free.
So I have just got back from Adobe Max and there was a big announcement and that was motion graphics templates for Premier Pro. So, we can have motion graphics templates that are designed professionally that you don’t have to have any after effect skills, in fact, you can change the type, you can change a lot of different things about these motion graphics, use them in your own videos and even better, there is a ton of them that you can grab for free, at Adobe Stock.
So let’s have a look at it right now.
So, here we are, at Adobe Stock right now and I am going to click on Templates. And then what we want to do is scroll down here and search motion graphics. So let’s grab these motion graphics templates. And then we can see, all we need to do is just roll our mouse over and we can see all kinds of different things. We have got these nice little type treatments, look at that, aren’t they nice? And we can also scroll down, we can look at title screens, we have got light leaks, we have got all kinds of things here, there’s tons of them. Now, if you look at them, some of them are premium ones but there’s also a ton that are free. So if you are a Creative Cloud member, you can download all of these right now and you can actually download them directly into Premier Pro.
So, let me show you how, right now.
So we have got a little thing, working on here, this is kind of cool, look at that blasted, return of destruction, okay, you know what, that will work well for what we are doing. Okay, so what we are going to do is we just want to download it. So I am just rolling over here and then I just want to create either type in here and hit +, to create a new Creative Cloud Library or just go into one of the ones that you have already created. And I have got a ton of them here and one of them I have created here is MG. so once I click here, it is just going to save that directly to there. You see? Saved and now it shows licensed means already have it. So you know, if I wanted to grab other ones I could just simply go over here and say, you know what? This looks kind of look, yeah, I like that. Why don’t I grab it and I get it for free. Just like that.
Okay, so why don’t we go to Premier Pro and here we are in Premier and I am actually working on a little vlog video that I am doing, from Adobe Max. So let’s just play this little videos, here is a little section I have made for transition here between a couple of videos. So what I want to do is I’d love to have a nice title screen here and I’d love to have a lower-third graphic on there without having to take the time to design it myself.
So all we need to do is go to our libraries here and if you can’t find it, just click in there, choose Library, there is our Creative Cloud library and here’s all the assets that we have downloaded. And notice, all your libraries are available, that’s the MG folder. So why don’t we start with this? I am going to create this, on the timeline, I am going to add it here and what I want to do is I am just going to hold down the Intro key and notice those arrows? What they will do is they will push the rest of my project back and enable it to fit here. Okay, so we need some fonts here, say, hey we need these fonts and we don’t want to substitute these fonts, so we want to grab these from type kit. So we are going to click those two and click on Sync Fonts and then, click OK. So right now, those fonts are actually downloading from Adobe Type-Kit and being added into my fonts. So that this template is going to look right, I don’t want it to say Blasted The Return of Destruction, that’s not what I want at all. That’s not the title of my Vlog. So here is what the problem’s been in the past but now, if we click on it and open the Essential Graphics Panel, if you don’t find it there, look under Window, Essential Graphics. We can go in there and look at all the stuff that we can change.
Alright, so we are going to start here and we are going to change this to My Trip and we are going to say, Adobe Max in Vegas. Alright, so this is where I was, I was at Adobe Max in Vegas. But you know what, I am looking at that one, I would like that one a little bit bigger, so I just drag that up a little bit, see that we can change the size and why don’t we make the main title little bigger too and notice, how we can play around with that. There’s a color tint there that’s kind of cool but you know what? I am a blue fan, I really love blue. So I am going to choose blue and notice that the whole thing now becomes blue, we can change the [Inaudible 04:51] size, all kinds of brightness, you can see the different settings there, in fact, why don’t I just turn that up just a little bit, there we go. That looks better and let’s hit the Space bar to play this and we can see there, boom! My Trip, Adobe Max in Vegas and away it goes.
So you can see how quick and easy it was to do that and it required absolutely no skill and it just added a lot to my video. But why don’t we something more, why don’t we add a nice little lower third graphic in here? So we have got a couple of different options here. Why don’t we grab this one here and I am just going to drag and drop it into our thing right here. Alright, so here we are, I just clicked on it to make sure it is active and then look at all the different things that we can change in there. There’s a ton of things.
So why don’t we do this one, we are just going to say Travelling Home and there we go, so now I am travelling home and I will put my name in here. So notice we can quickly update that, that’s really awesome. One of the things I don’t like though is this. It is [Inaudible 06:00] blue, so I am just going to click on here and I can change the banner color here, so slightly different blue. It is subtle but you know, it is important to me. Alright, so we have changed that and then maybe Colin Smith, maybe I will do that in a different color too. So we can choose something like maybe a bit more of a gold color on here. So we can do that, see, there we go. And see how easy it is to change this stuff and of course, if we want to change the length of these, we can. So I want to make that just a little bit smaller, so it matches my name right there and that little white line around there, I don’t know about that. Maybe I want to make that a yellowish color as well. So we go for that kind of gold, going for gold. There we go. You know what? I don’t like that, I kind of going to go black, back to like maybe a dark grey. Okay, I like that a lot better. And you can see the kinds of things we can modify and of course, if I want to move it, I just double click on it and I can drag it around, see that, anywhere I want. I am just going to put it in the corner there and now, we can play this and here is our video right now.
And there we go. You can see all the things you can do there with motion graphics templates. I am super excited about this and I am really going to be digging in and playing around with these motion graphics templates. By the way, if you are an After Effects guy or girl and you are really good at After Effects, then you can actually create some of these motion graphics templates yourself and upload them to Adobe Stock and make some extra revenue, the link is underneath. For the rest of us, let’s jump in there and start adding these to our videos and really adding a lot of production value.
So I hope you guys enjoyed this little kind of video here. If you did, smash that like button into dust. If you are not a subscriber to Photoshop Cafe and you don’t want to miss out on these valuable tutorials, hit that Subscribe button right now, become part of the Cafe Crew. Add a comment, I’d love to get a discussion going and until next time, I will see you at the cafe.
I hope you have enjoyed this tutorial.
Add a comment, let me know what you think
See you soon with another tutorial!
Colin
This site uses Akismet to reduce spam. Learn how your comment data is processed.

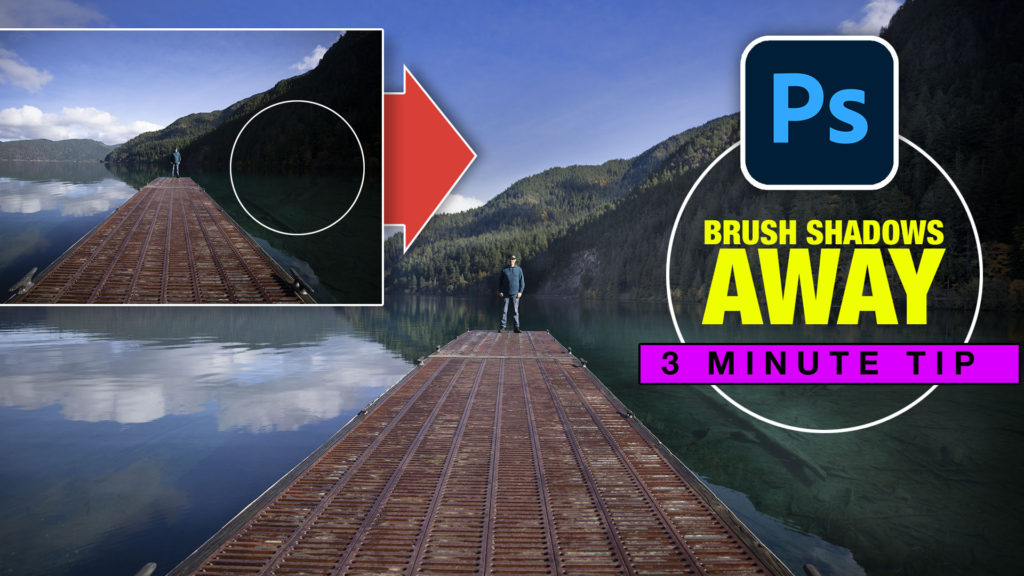
This Photoshop tutorial will show you how to remove the shadows exactly where you need them and recover blown out...


In this weeks Live from Lockdown Colin Smith shows how to match the color between photos, Make any photo look...
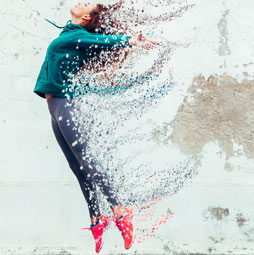

This photoshop tutorial will show you how to create the ever popular particle dispersion effect. I have put my own...


Leave a Reply